
Tulip Flower Pot Box with a Bunnies

There are four versions of the Tulip Flower Pot Box. See the PDF for the other versions. which are a chick, flower and duck.
I used card stock to create these tulip flower pots.
Here is the PDF.
https://drive.google.com/file/d/0B7oGIyVDbRGYTWxPVWlYallUaUE/view?usp=sharing&resourcekey=0-V5OsFcURpkj4aSiKhebInQ
https://drive.google.com/file/d/0B7oGIyVDbRGYTWxPVWlYallUaUE/view?usp=sharing&resourcekey=0-V5OsFcURpkj4aSiKhebInQ
Here is the .Studio file.
https://drive.google.com/file/d/0B7oGIyVDbRGYeXhlNlFRN2dxVVU/view?usp=sharing&resourcekey=0-6b4SxMji9f2y7riowe0RzQ
https://drive.google.com/file/d/0B7oGIyVDbRGYeXhlNlFRN2dxVVU/view?usp=sharing&resourcekey=0-6b4SxMji9f2y7riowe0RzQ
The tulip is the same. The only difference is the belly band.

Slide the slits together. One petal is bent to slide the two pieces together. Go slowly...it takes patience to do this. Hold the paper firmly in your hands and pull evenly in a straight line. Try not to bend the slits because they are fragile.
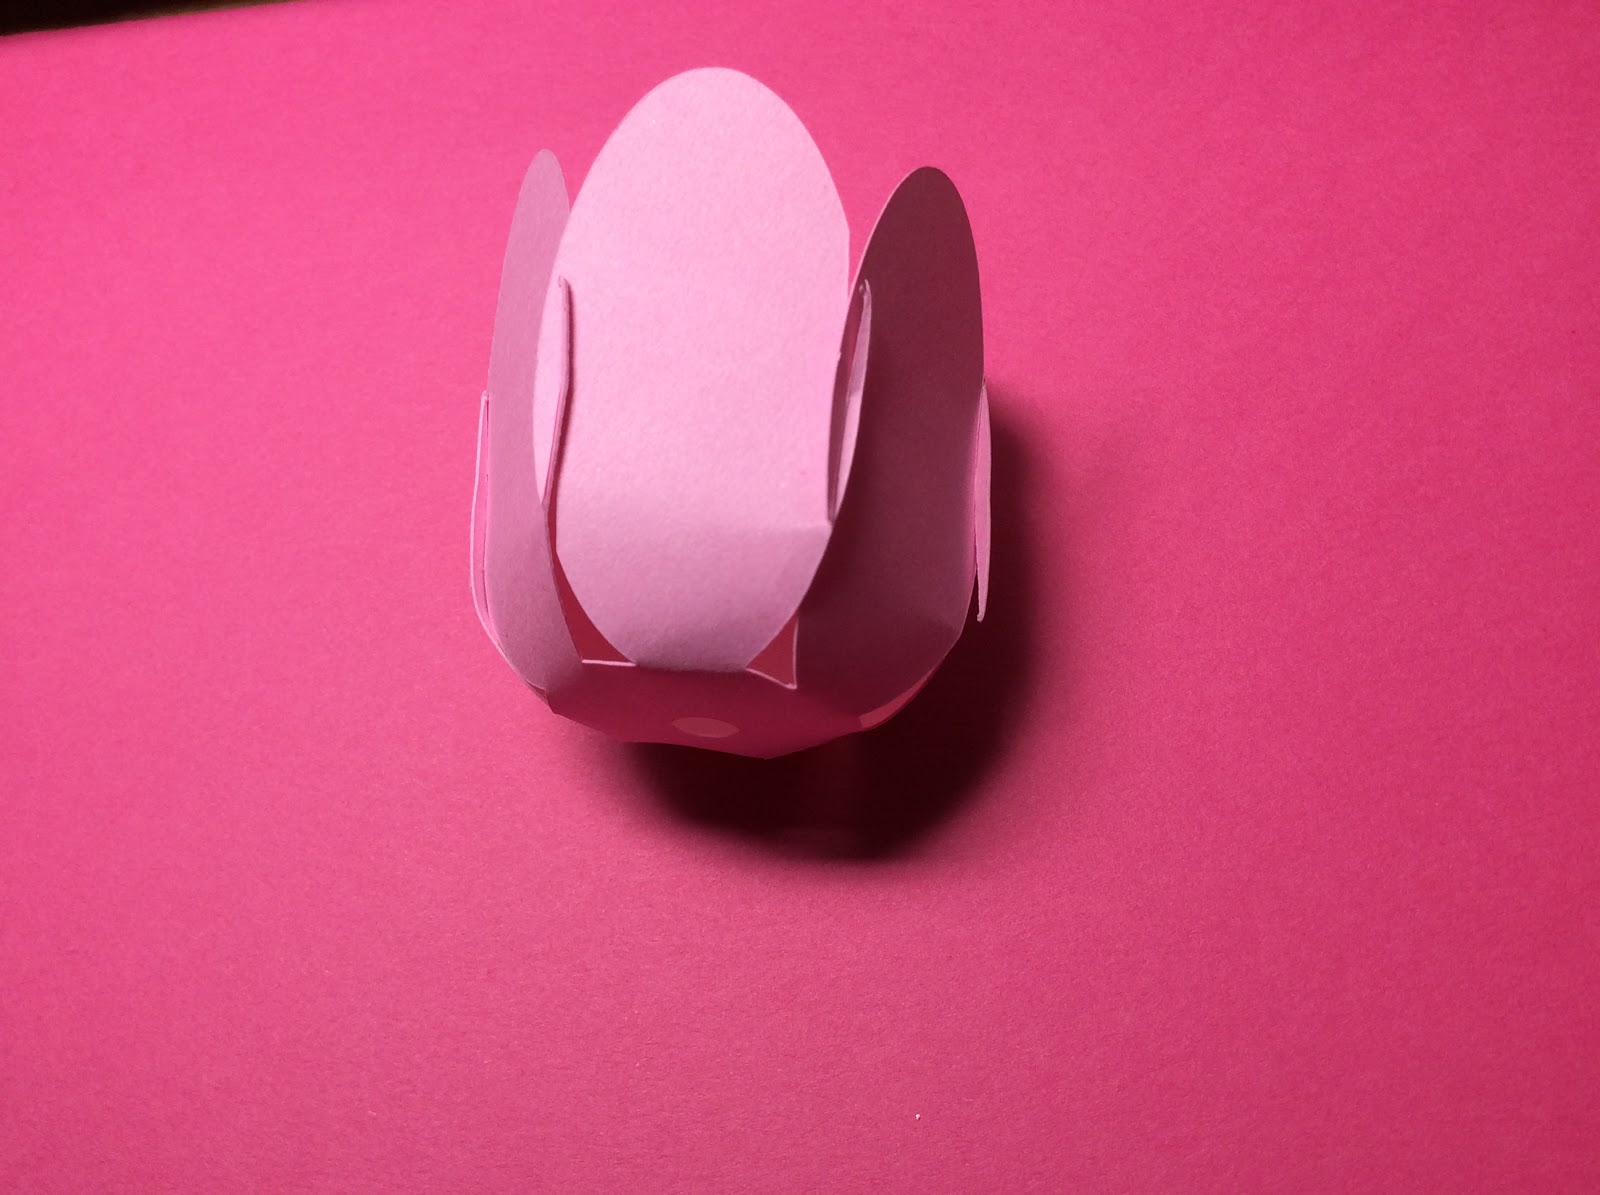
Slide all of the slits together.

Fold and glue the stamen together but don't glue the bottom. Glue on the black anthers to the filament.

Six stamens

Glue on the stamens to the bottom circle.

Bottom of flower. Set aside...to be glued into the flower later!

Curl and glue the cone shape as shown. The dotted line on the cone indicates where the seam should be.

Take the small circle cog and fold up the points. Put glue on each point and insert it into the cone to form the bottom of the flower pot as shown above. I glued another circle inside the pot to add some strength to the bottom.

Make the belly band. Glue on the main design and the two pinstripes.

Curve the belly band into a circle and glue. There is a lot of paper here so it needs to be trained to go into a circle. Slowly manipulate and bend the paper into a circle to create the lid.

Bend the cogs of the big circle. Apply glue to each cog and insert it into the belly band. Do not force the circle all the way to the edge. There is a small edge as shown.

Apply glue on the edge of the stem as shown. Curl it up to make a four sided stem.

Pinch the bottom of two leaves together as shown. Repeat for the other set of leaves. Curl the ends of the leaves with your fingers.

Insert the stem and bend back the tabs. Glue the tabs as shown.

Insert the point of the leaves. Glue each on opposite sides of the stem.

Glue the circle to the bottom of the lid.

Glue the tulip to the stem as shown above.

Glue the inside of the flower.

Tulip Flower Box
Happy Spring!


