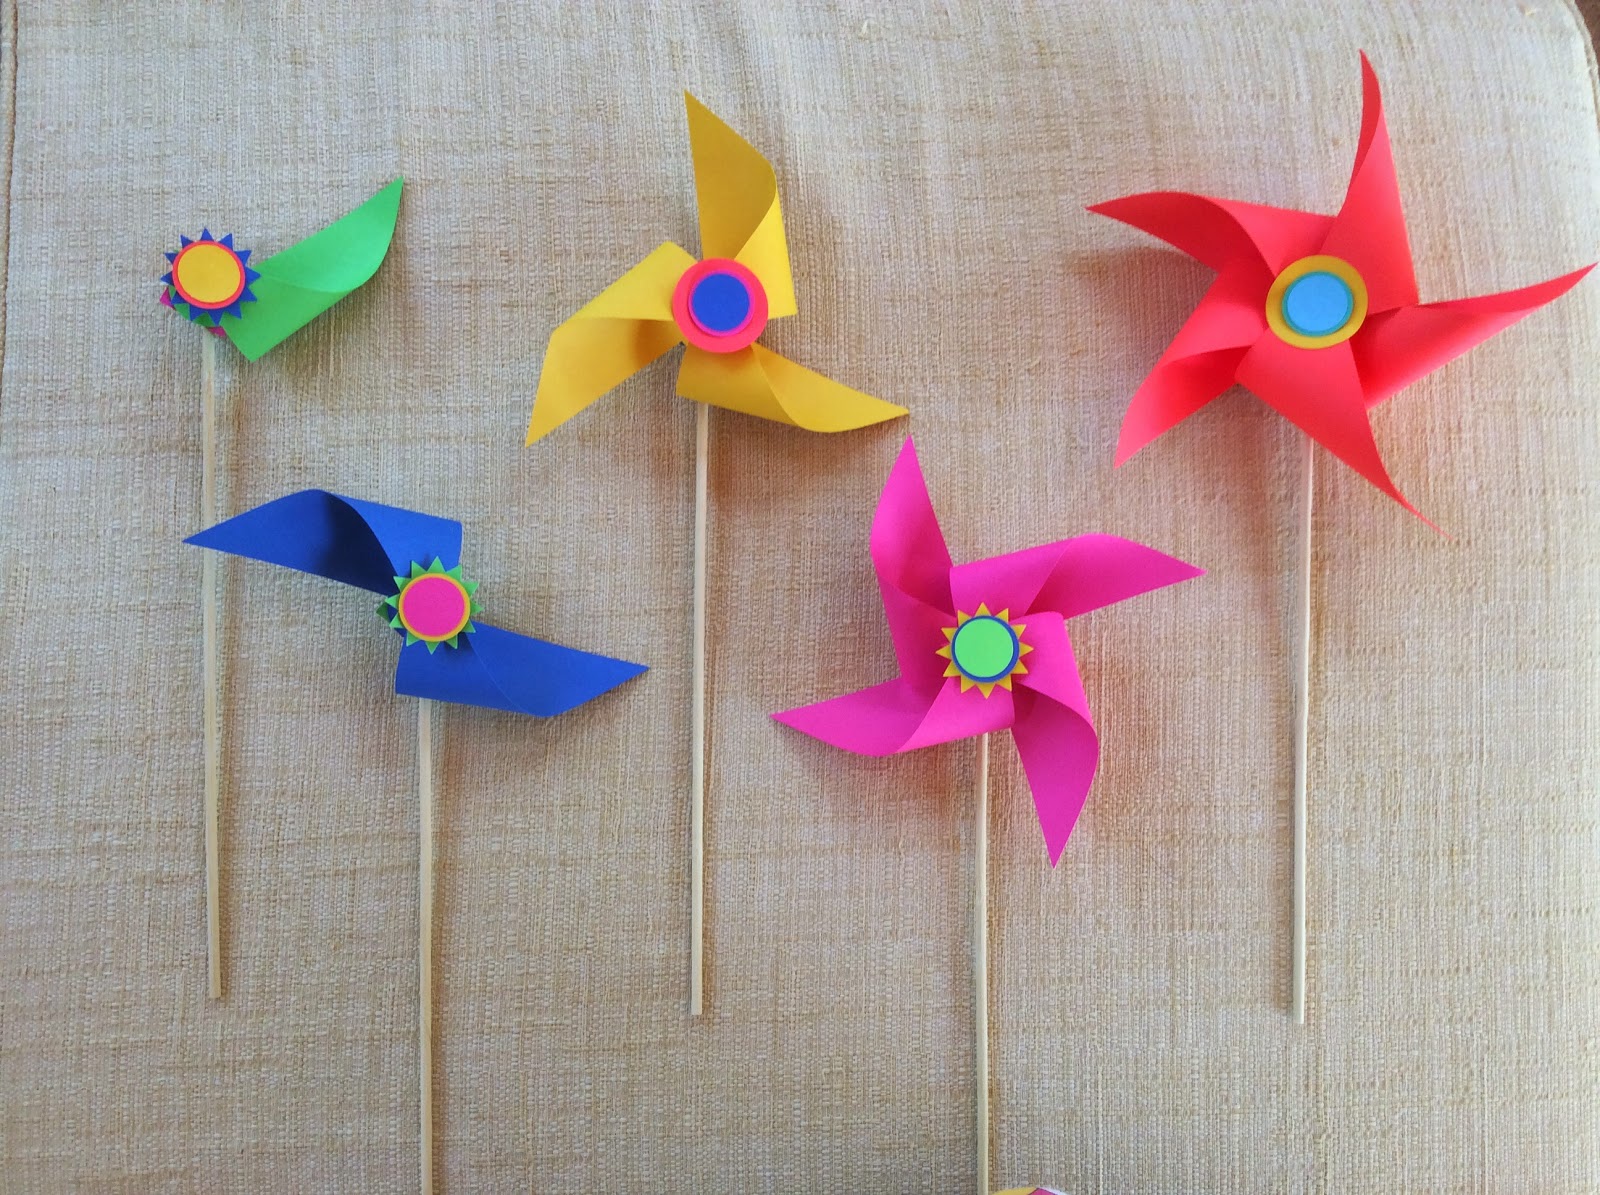
I created five different types of pinwheels to explain the concept of rotational symmetry. Rotational symmetry is when a figure is rotated around a central point and the angle of rotation is noted when the object looks the same as the original figure. For example, a square has 90 degree rotational symmetry because it looks that same at 90 degrees, 180 degrees, 270 degrees and at 360 degrees. The order of rotational symmetry of a square is 4 because it looks the same 4 times in one rotation around a central point.
Here is the PDF of the pinwheels.
https://drive.google.com/file/d/0B7oGIyVDbRGYT1duczNleEM4SUU/view?usp=sharing&resourcekey=0-lnVJ_9nV-0hufY1t_eeDQA
Here is the .Studio file of the pinwheels. I would recommend using the thinnest material for the blades and the strongest paper that won't tear easily for the rest of the pinwheel.
https://drive.google.com/file/d/0B7oGIyVDbRGYMjAtRWlyZFliT2M/view?usp=sharing&resourcekey=0-7prVUoKPCY4Kb9LGO6B_2w
Paper is not the best material to make the axles of these pinwheels. My fourth grade class made them and many of the pinwheels broke at the joint. I think a better choice would be to make a class set, have each student hold a pinwheel and move the pinwheel while sitting at their desk. My students wanted to touch the blades and move them with their hands while running around the room. These actions puts too much pressure on the fragile paper joints.
To Make the Axles. Glue into a tube.
Insert into the hole.
Glue as shown above. Repeat for the other axle.
There are two axles. One tube is larger than the other tube.
Using the larger axle, insert into the center of the pinwheel by folding one side of the pinwheel blade. Continue with the other pinwheel blades until it looks like the above figure.
Add the starburst figure as shown above.
Glue the tabs down as shown above.
Insert the smallest axle into the largest axle and add the circle.
Glue the circle down as shown.
Add the final round circle.
Turn the pinwheel over. Glue and bend the paper as shown.
Insert a wooden skewer around the paper and allow it to dry before trying to move the pinwheel.
Repeat the above instructions for all of the different types of pinwheels.
A PDF that explains rotational symmetry.
https://drive.google.com/file/d/0B7oGIyVDbRGYQWtLRk5UUGc3QTA/view?usp=sharing&resourcekey=0-PawXO00eEHwHE5gUk8RVUg
Here is an area of a pinwheel challenge PDF.
https://drive.google.com/file/d/0B7oGIyVDbRGYbDdfeFFJdHJzZGM/view?usp=sharing&resourcekey=0-fA_K0Dtj26KX3RiG0UJgNA